Install VNC Server (Virtual Network Computing) on Windows 10
n this tutorial, we are going to install VNC server on Windows 10, which can enable you to connect to your Windows 10 PC from a remote computer. The VNC (Virtual Network Computing) is a great choice if you need a free alternative to the Windows Remote Desktop (RDP).
Installing TightVNC Server On Windows 10
There are several free VNC servers available for Windows 10, we are going to use TightVNC software.
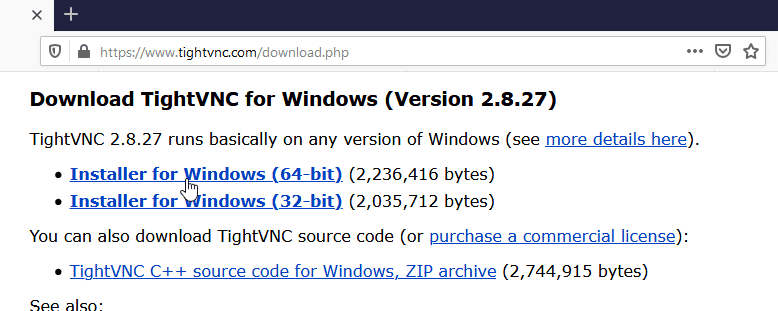
First, Download TightVNC Server from http://tightvnc.com/download.php.
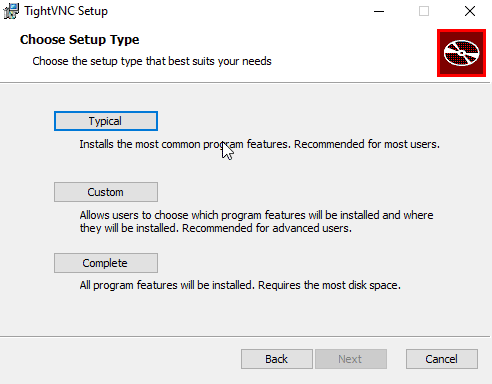
Run the setup file and continue with the Typical install option.
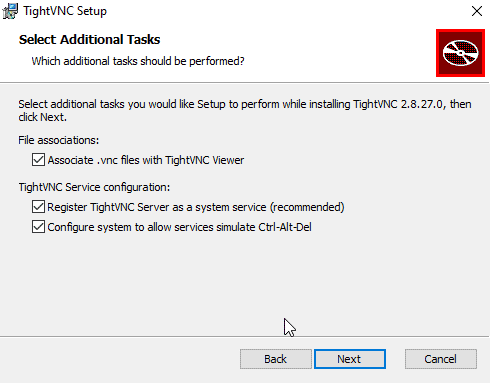
TightVNC should be set to run as a system service.
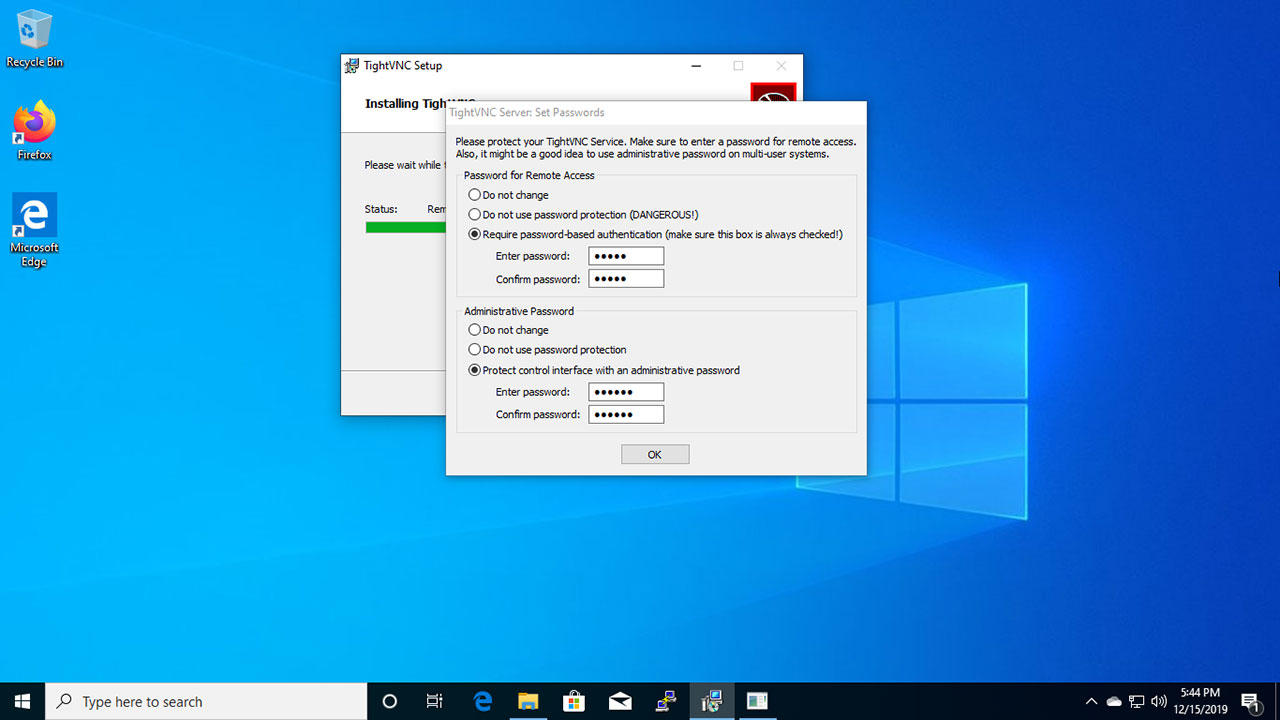
Set Passwords for Remote Access and control interface.
That's all we need to do. VNC Server on Windows 10 listen on port 5900. The TightVNC server automatically configures Windows Firewall to allow incoming connections, so you don't need to worry about Windows firewall.
Connecting to the desktop remotely
On the remote computer, a VNC viewer should be installed. There are several VNC viewers available, you can use the TightVNC viewer which is available for Windows, Linux and macOS.
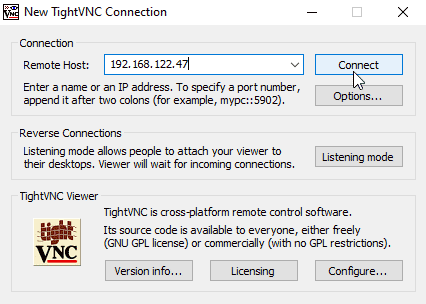
Enter your Windows 10 computer’s IP address to connect.
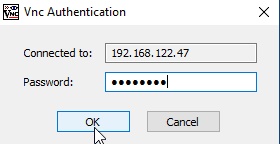
The user will then be prompted for their remote access password.
We can reset Remote Access password from the Control interface. Double click the VNC Tray icon to open the Control interface.
Starting and Stopping VNC Server
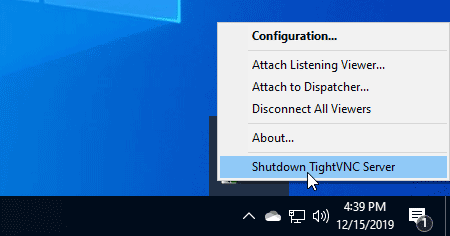
To Stop VNC Server, right click the VNC icon on the Windows tray bar and click "Shutdown TightVNC Server".
To Start VNC, Go to Start Menu and click "Start TightVNC Service".